
What Kind of Preparation Is Required for an Existing Concrete Floor Before Coating?
Concrete coatings—whether epoxy, polyurea, or polyaspartic—can completely transform your garage, basement, or patio. But here's something most homeowners don't realize: the key to a long-lasting, professional-quality floor isn’t just the product—it’s the prep work.
Even the highest-quality coating can fail if the concrete surface isn't adequately prepared.
In this post, we’ll walk you through the steps involved in preparing an existing concrete floor before applying any coating. Whether you're researching before hiring a pro or just curious about the process, here’s what you need to know.
Step 1: Cleaning the Concrete
Preparation starts with a deep clean to remove:
Dirt and dust
Oil or grease stains
Paint or adhesive residue
Any existing sealers or coatings
How it’s done:
Sweeping and vacuuming the surface
Degreasing with commercial cleaners or etching agents
Pressure washing (if applicable)
Why it matters: A coating needs to bond directly to clean concrete. Oil, moisture, or dirt can prevent adhesion, leading to peeling or bubbling later on.a
Step 2: Moisture Testing
Concrete may look dry—but it can hold moisture below the surface. Excess moisture is one of the biggest reasons coatings fail.
How it’s done:
Plastic sheet test (taping plastic to the floor for 24 hours to check for condensation)
Moisture meters or calcium chloride tests for more precise readings
Why it matters: Moisture can break the bond between the coating and concrete, causing blistering or delamination. If a moisture barrier is needed, it must be addressed before coating.
Step 3: Repairing Cracks & Imperfections
Coatings will highlight every flaw in the concrete if not corrected first.
Typical repairs include:
Filling cracks, pitting, or spalling
Patching holes or surface damage
Leveling uneven spots or transitions
Materials used:
Epoxy crack fillers
Concrete patch compounds
Self-leveling underlayments (if needed)
Why it matters: Coating over damaged or uneven concrete won’t just look bad—it could also lead to premature wear or trip hazards.
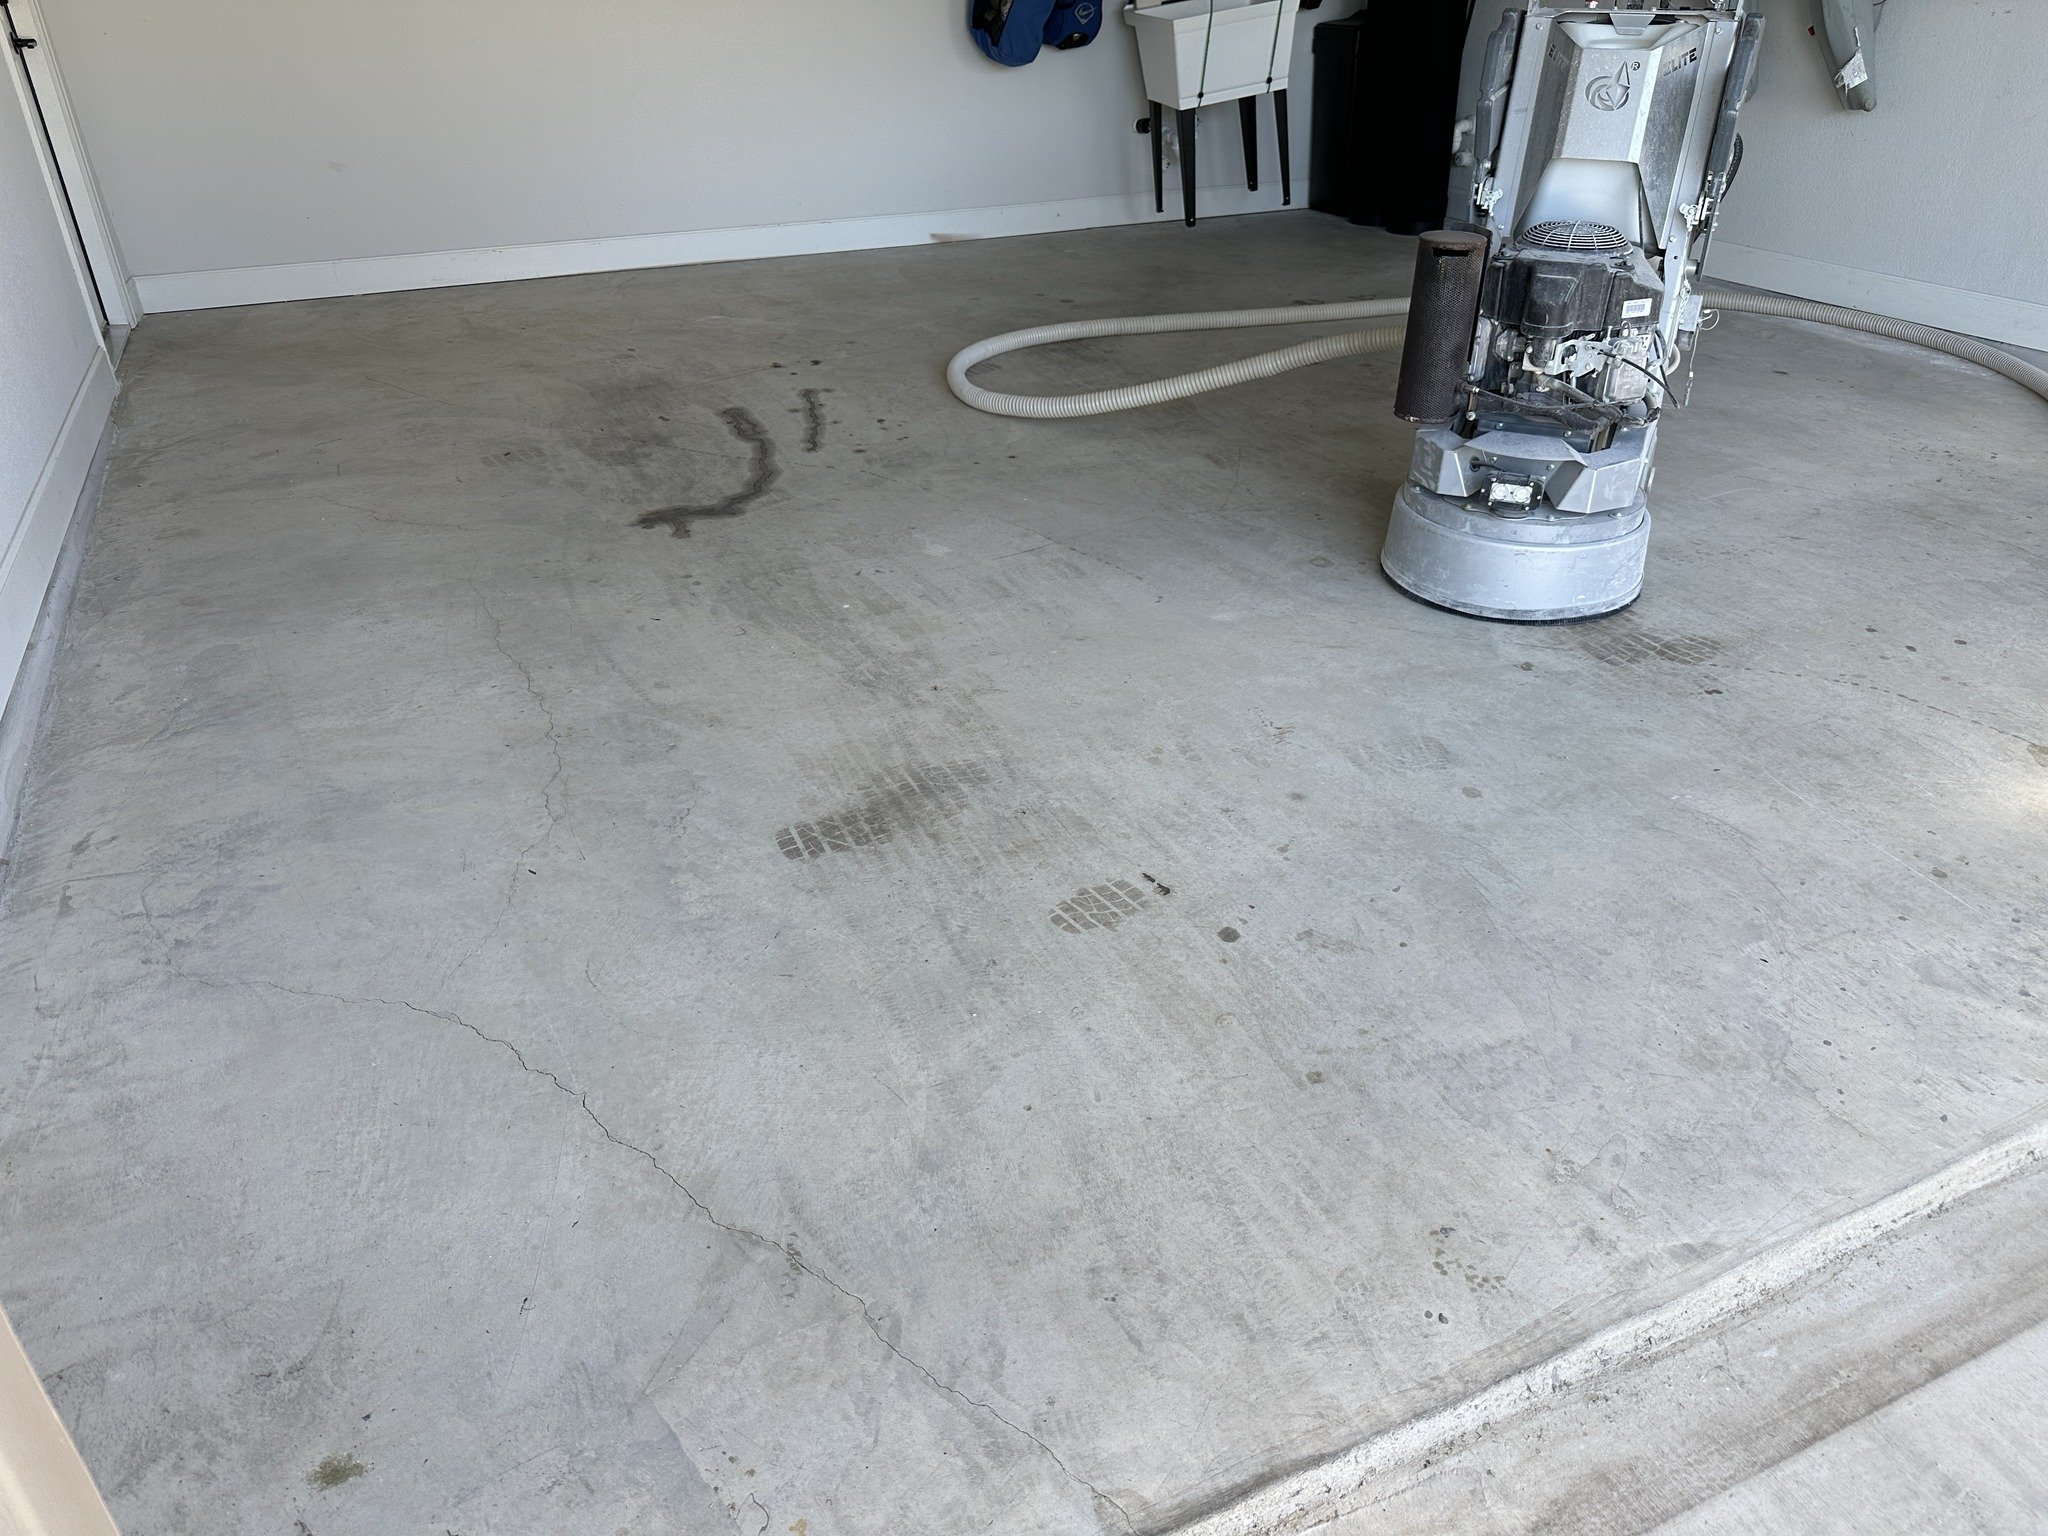
Step 4: Mechanical Surface Profiling
This is the most critical step—and the one that separates DIY jobs from professional-grade results. The goal is to open the pores of the concrete so the coating can soak in and create a strong chemical bond.
Methods include:
Diamond grinding – Most common and effective
Shot blasting – Used for heavy-duty prep or large industrial areas
Etching (acid wash) – Sometimes used for DIY epoxy kits, but less effective than grinding
Why it matters: A properly profiled surface ensures maximum adhesion, durability, and longevity of your coating.